The MGA With An Attitude
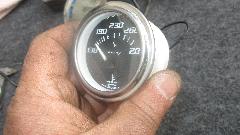
REPAIR of the ANALOG TEMPERATURE GAUGE 3 -- DT-102F
Friday, March 23, 2018:
Okay, I have been very busy, but now two years on will be my second attempt to repair the duff temperature gauge that I previously failed to fix. My old gauge already had a small brass tube splice connector soldered on the original steel pipe, so we were half way there to begin with. I was a little worried about the new gauge being in a higher temperature range for newer cars (maybe the wrong fluid formula), but we would give it a try anyway. First move is to preheat a good strong soldering iron and be sure it has enough heat to heat the copper tube enough to melt solder in short order.
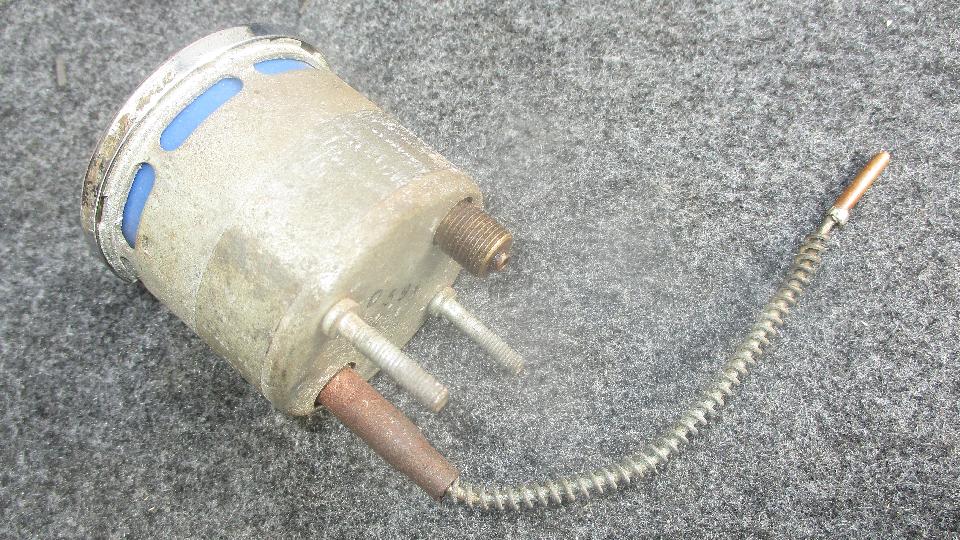
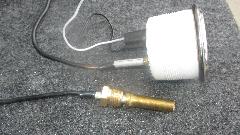
The pipe on the new gauge was a tiny copper tube covered with a thick plastic sheath, very flexible and not the least bit prone to kinking. Functionally nice, but need to match the coupling bore to the new pipe OD. The coupling tube is 0.125 ID and 0.063 ID, drilled to 0.075 on one end to fit the original 0.070" steel pipe. Measured diameter of tubing on the new temperature gauge may be between 0.050-0.060-inch diameter (depending on source of the gauge), and it will most likely be a copper tube. Once the plastic tube was stripped back, this new pipe measured 0,047" OD, but I recon we can still solder it into the 0.063" ID coupling.
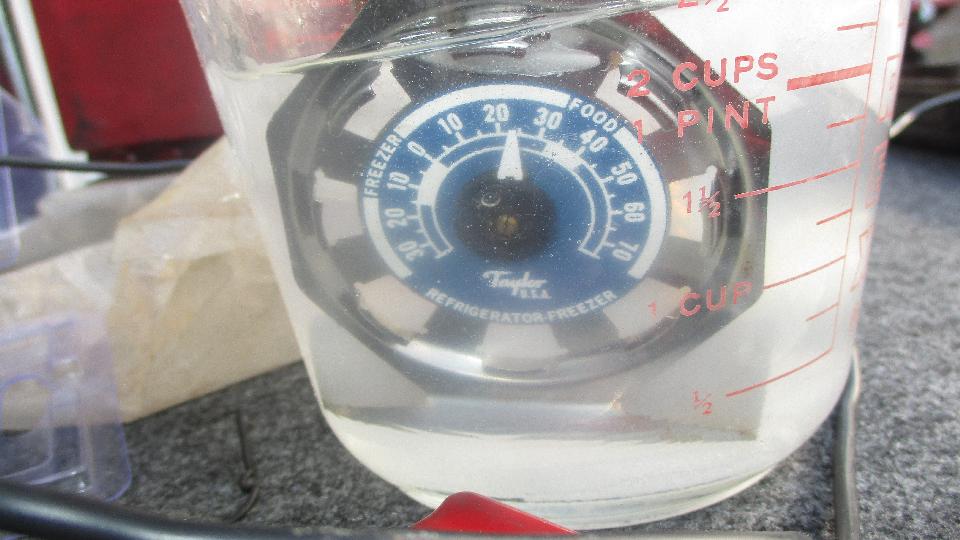
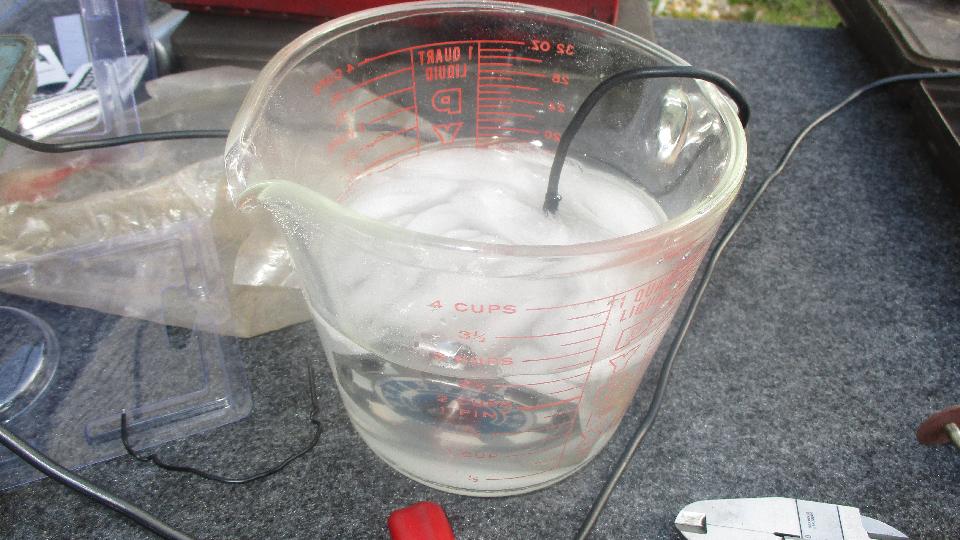
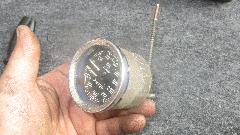
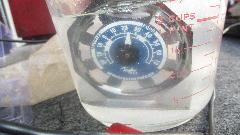
 Get a glass of water with lots of ice, and toss in a hand full of salt to make a cold brine solution. The refrigerator thermometer calls it 23dF, so plenty cold to prevent the ether in the thermal bulb from boiling. Place the thermal bulb in the ice water before cutting the pipe, and be sure the bulb stays in the cold water until the operation is finished. Get a glass of water with lots of ice, and toss in a hand full of salt to make a cold brine solution. The refrigerator thermometer calls it 23dF, so plenty cold to prevent the ether in the thermal bulb from boiling. Place the thermal bulb in the ice water before cutting the pipe, and be sure the bulb stays in the cold water until the operation is finished.
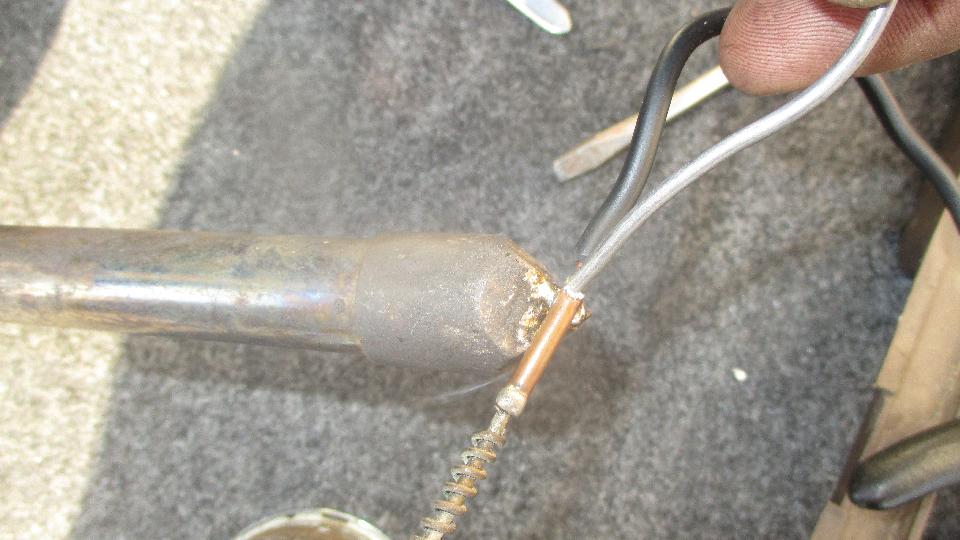
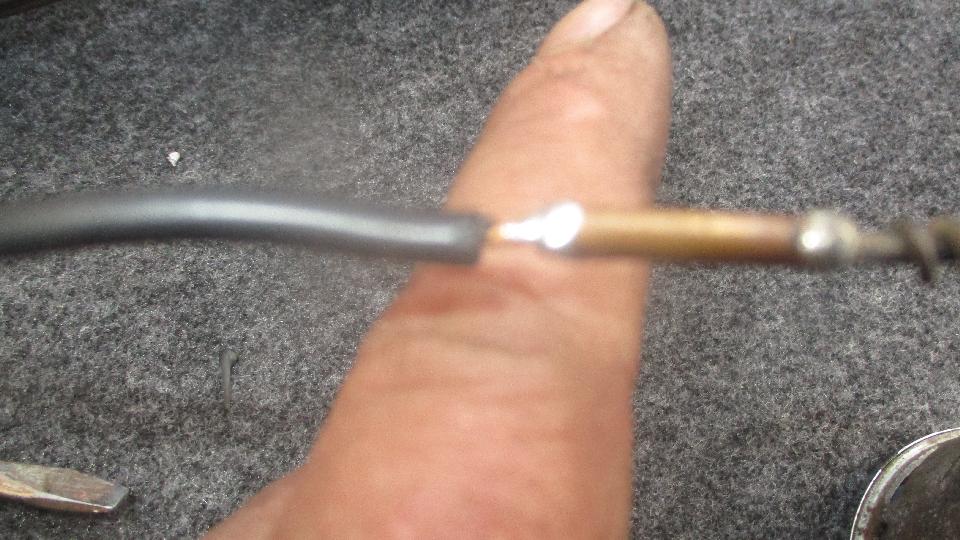
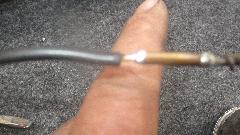
After stripping the plastic cover from the pipe on the new gauge, we cut the tube close to the gauge using a Dremel tool with a thin abrasive cut-off wheel. Grind very slowly to prevent melting or munching the copper tube to close the hole inside. Check twice, and use a pick or needle to assure the tiny bore hole is open and clean. The new copper tube must also be clean enough to accept solder. For tinning the steel pipe on the original gauge, use acid core solder or solid solder and acid flux. Do not attempt to solder the coupling to the original pipe until you have successfully tinned the steel pipe. Once the steel pipe is tinned, then you can use resin core solder or solid solder and resin flux to solder the coupling to the pipe. Be sure not to plug the pipe with solder. Then use resin core solder or solid solder with resin flux for soldering the copper (or brass) coupling to the new copper pipe.
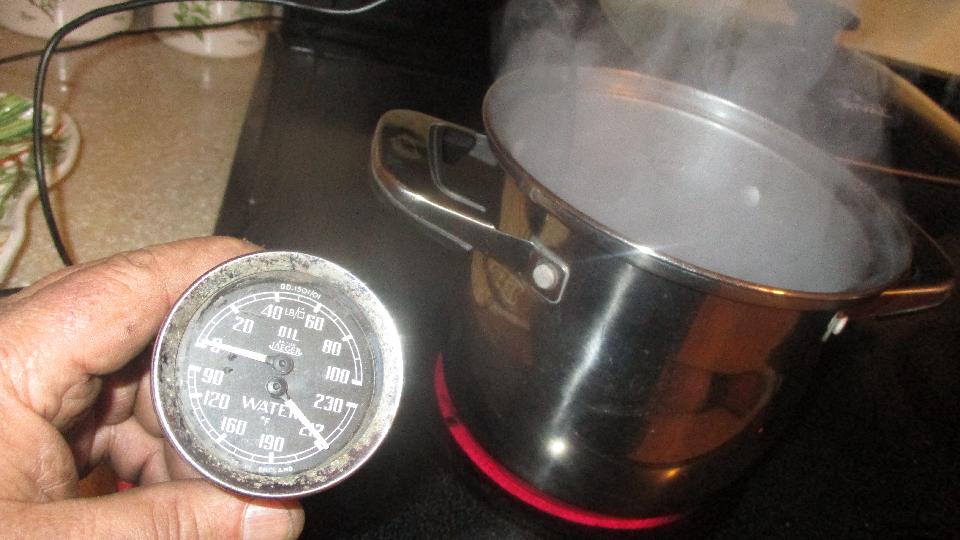
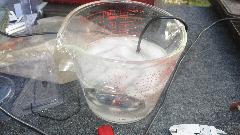
It looked like a good hermetically sealed solder joint, so it was time to pull the bulb out of the ice water and give it a real world test. We placed the bulb in a pan of boiling water (briskly boiling), and voila, it was soon pointing exactly at the 212dF mark on the gauge. We didn't even need to reposition the needle. Now there was the sudden change from suspicious doubt to absolute euphoria, knowing this could be done, and it wasn't particularly difficult. Very soon we will buy another cheap analog temperature gauge and repeat the process to repair another original safety gauge in a friend's MGA (see next page).


|