The MGA With An Attitude
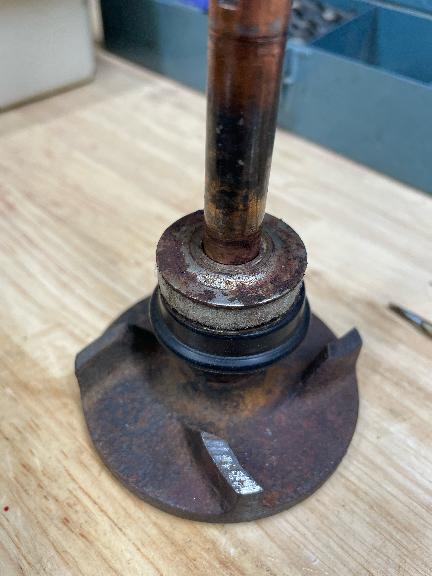
WATER PUMP Rebuild #2 - MGA Twin Cam - TC-305B
On 9/25/2022, Erik Gryler wrote:
"Here is my photo documentation of the rebuild.
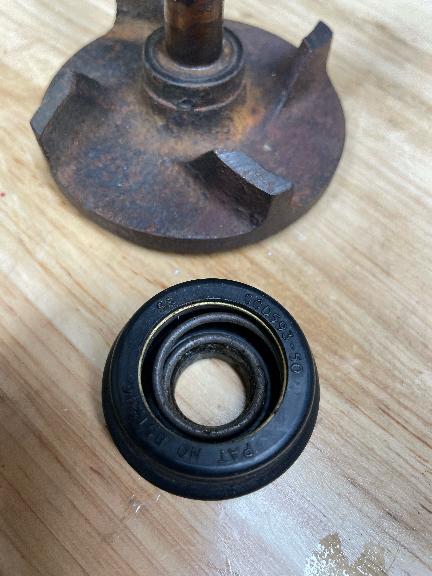
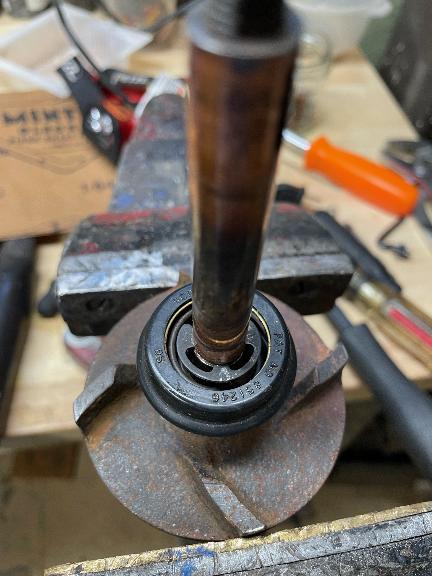
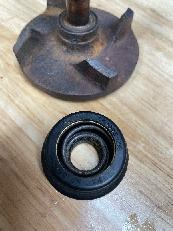
These photos show the impeller and the new seal followed by circlip application. The E-clips I had were quite thin, so I used 2 in the fairly wide machined groove".

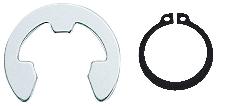
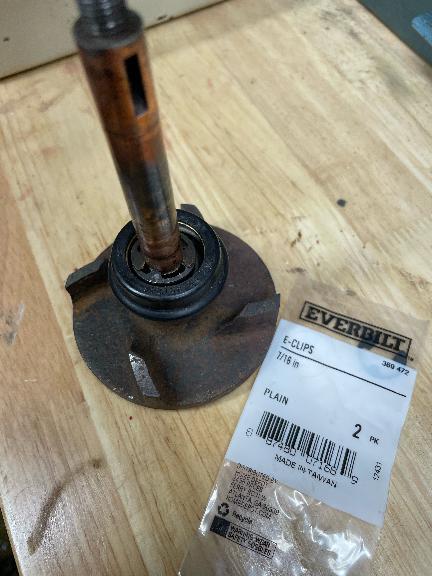
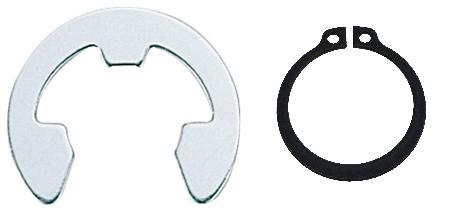
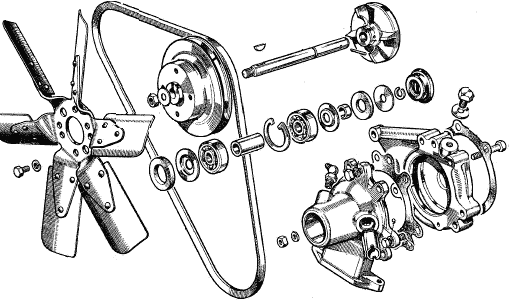
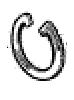 At near right is the originsl retaining ring as illustrated in the Service Part List. The real one looks like a helical spring lock washer, but is flat not helical, and has no distinct end tabs or ears. Next is a more common E-ring, and a snap ring with extended ears. Any of these might work, but the E-ring is likely the best choice being easily sourced. If the E-ring is thinner, you might fit two rings into the original shaft groove. This is a load bearing thrust ring, taking the axial load from the front pulley retaining nut, so best to use the original style heavy duty ring, or maybe two thinner rings to fill the width of the groove in thee shaft.
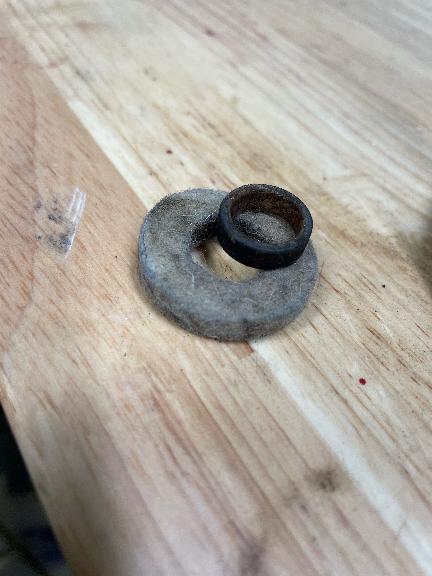
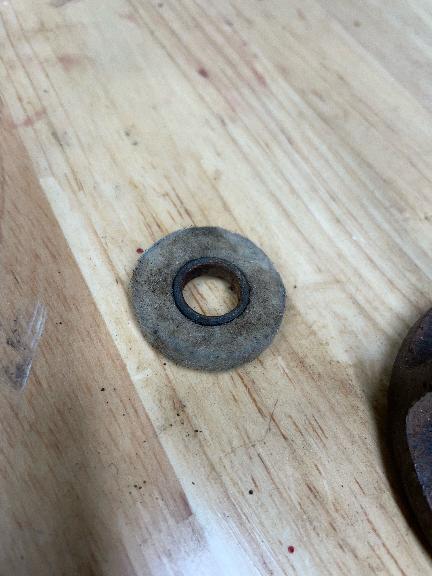
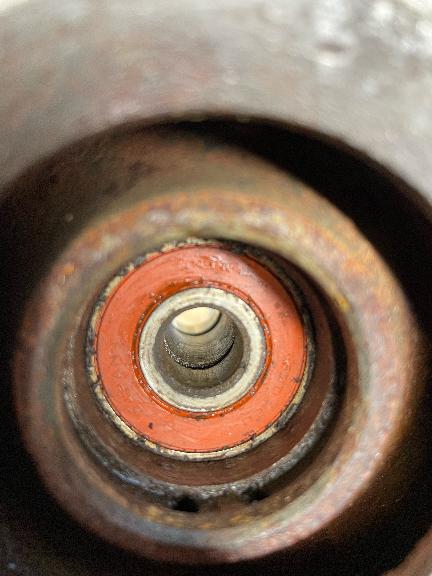
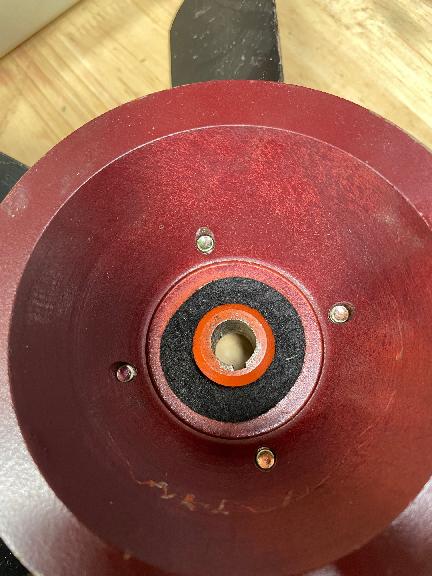
This series below shows the plain dust cover in place, followed by three photos of the felt washer with metal collar insert.


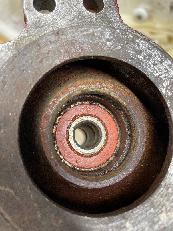

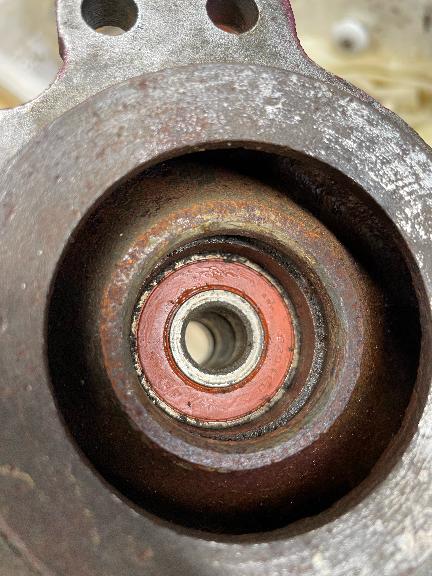
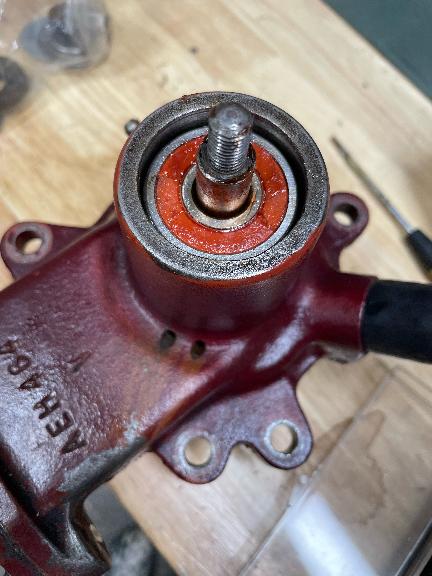
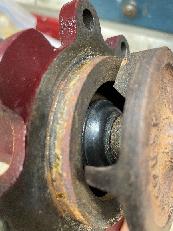
This photo shows the dished dust cover in place. Next photo show the rear bearing in place (looking from rear) and the seating area for the rubber seal. Looking through the rear bearing bore you can see the inner race spacer tube and the front bearing bore.
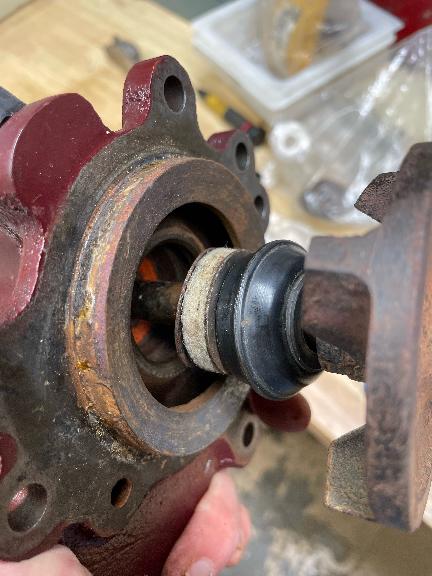
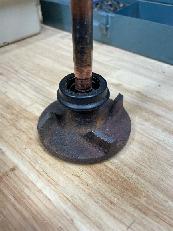
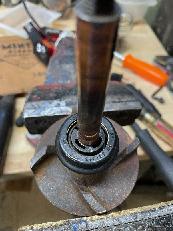
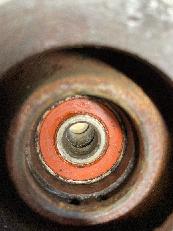
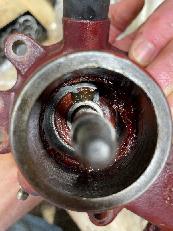
Photos below, starting with rear view of the rear bearing with the nest for the rear seal. The next two photos show the impeller assembly being inserted into the body from the rear. The last photo shows the rear bearing from the front with the circlip holding it in place.
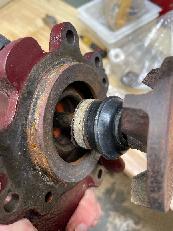
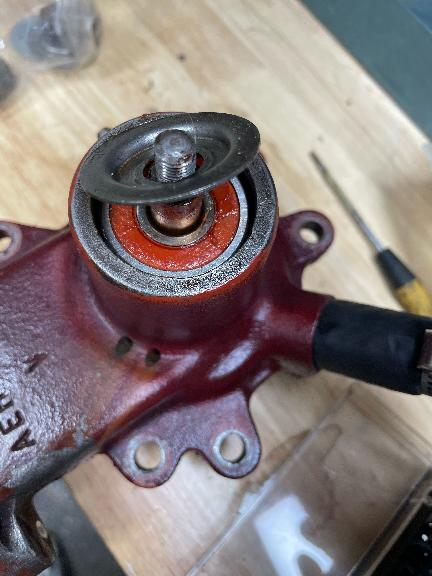
The first photo below shows the front bearing in place (the spacer tube is not pictured but sits between the two bearings). The second and third photos show the dished dust cover. The final photo shows how I compressed the assembly to allow for insertion of the key on the shaft.
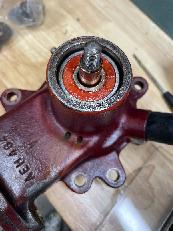
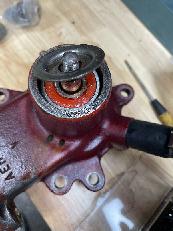
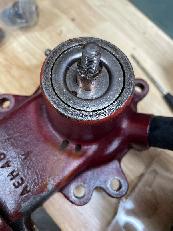

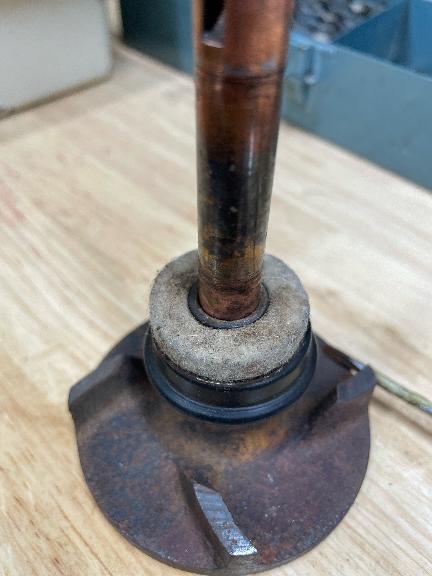
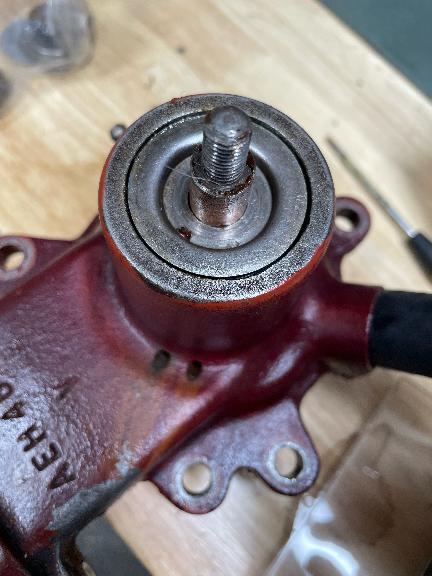
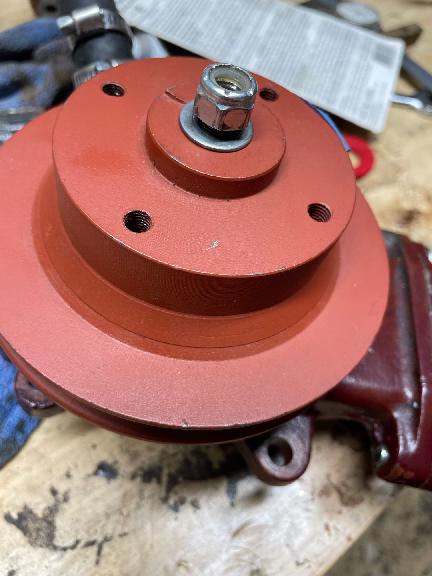
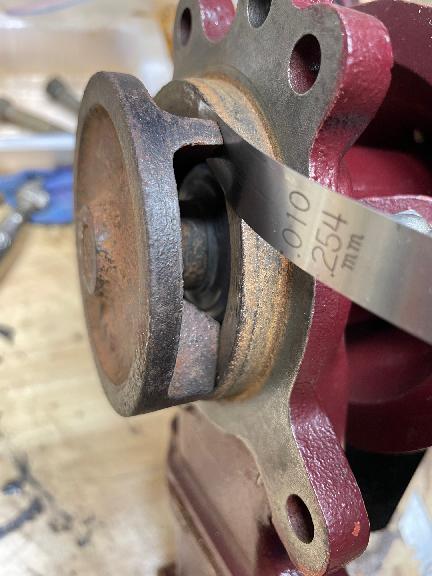
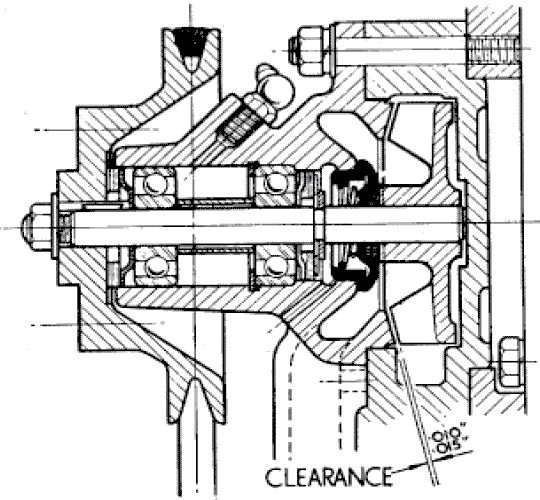
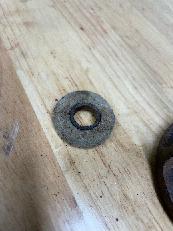
This series shows that there is a boss or extension on the rear of the pulley to contact the front dust cover. Next photo shows the felt washer for the spindle for which I used one of those felt battery terminal corrosion protectors. Photo showing the pulley in place with a lock nut. Photo checking the impeller clearance: workshop manual spec is
.010-.015"
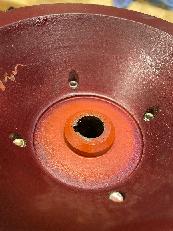
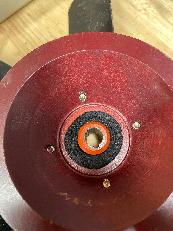

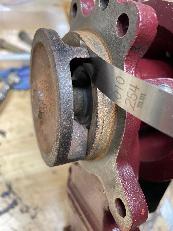

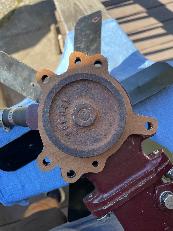
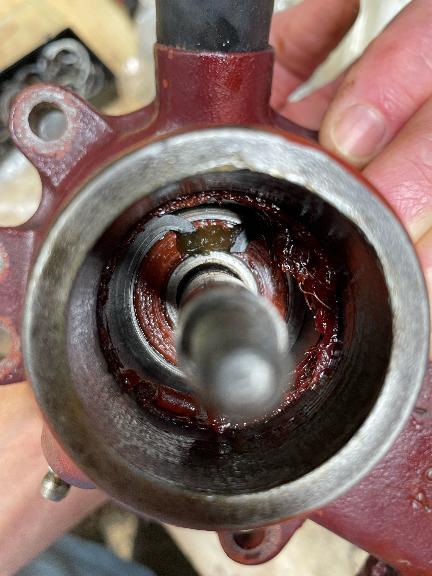
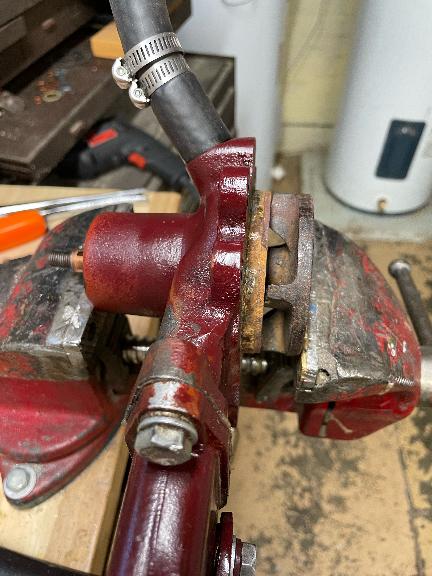
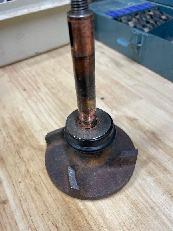
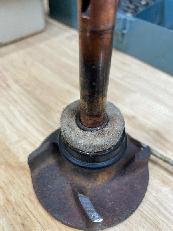
Photo showing my homemade paper gasket in place. I used gasket sealant on both sides of the paper gasket (user's choice). A gasket between two machined surfaces should not need any sealant. Of note, it is much easier to mount the pump without the pulley and fan attached.
Photo showing the two halves of the pump joined using two bolts. The Workshop Manual incorrectly states 4 bolts, but the SPL correctly shows 2 bolts required. --- I filled the coolant and so far no leaks.
At 12:44 AM 11/22/2023, Mark Wellard wrote:
"I thought it would be useful to have the dimensions of the spacers. I lost one of mine and had to make one. I've just finished rebuilding 3 pumps, so here's the range of lengths.
The small ones were 0.185, 0.184 and 0.179-in. This is adjusted, if necessary, to get the correct clearance. I found that one had to be reduced to 0.160-in.
The long spacers were 0.865, 0.869 and 0.877-in, and I suspect this is not critical.
Both have an ID of 0.475-in, and an OD of 0.623-in. This isn't critical either. -- Mark
|