The MGA With An Attitude
MUFFLER (Silencer) REPLACEMENT -- EX-105
A muffler clamp will crimp the pipes, both outer and inner pipes, with annular groove. This will not come apart even after the clamp is removed. You might be able to get it to rotate, but still will not come apart. The trick is to split the outer tube (muffler input pipe in this case) and spread it open some so the outer groove clears the OD of the inner pipe. You can split it with a "curl" chisel and hammer, or you can cut it down one or two sides with an abrasive cut-off wheel, then pry the ends back. After split and opened up it comes apart easily.
The following photos and notes are supplied by Geoff Howard in Ashburn, VA, USA. He is chronicling his trials and tribulations at replacing the MGA muffler.
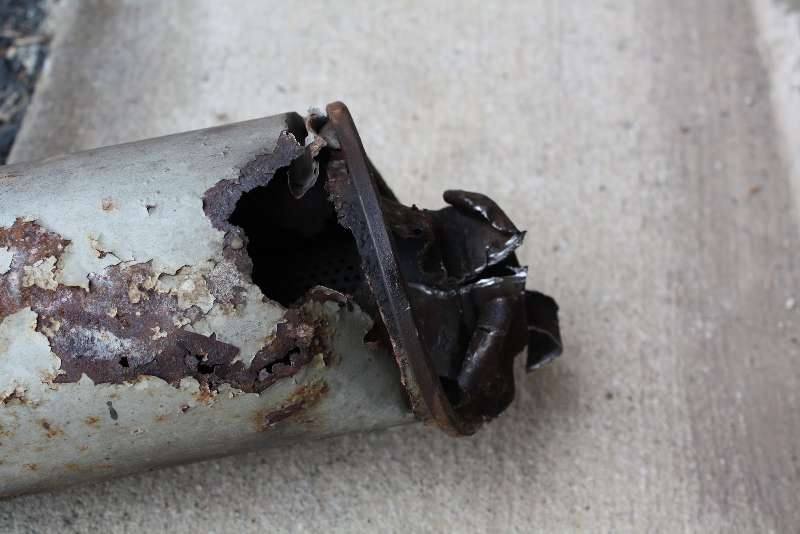
"I've discovered an impressively large hole through through the bottom of my muffler. Looking at Victoria, it looks like they do have a standard muffler for MGA. Is this a realistic project for a non-welder? Can I find a standard suitable replacement in my local auto parts store?
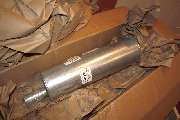
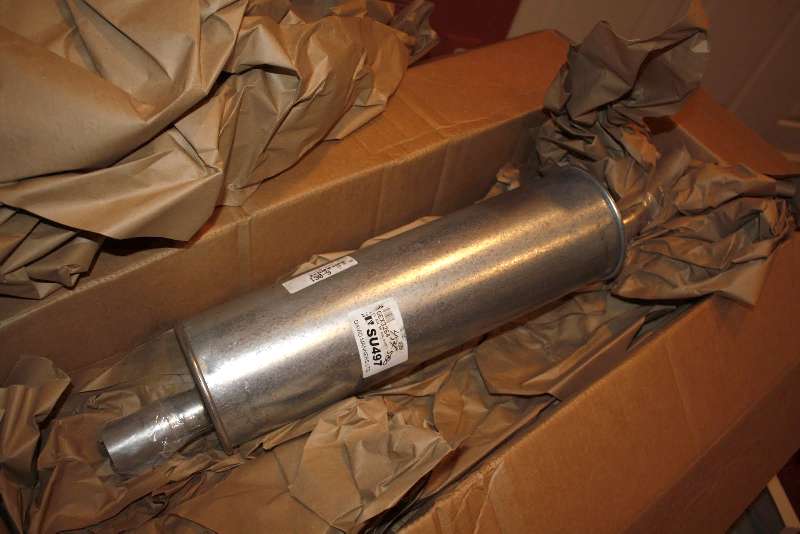
Shiny new muffler fresh from the box.
|
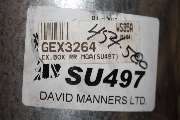
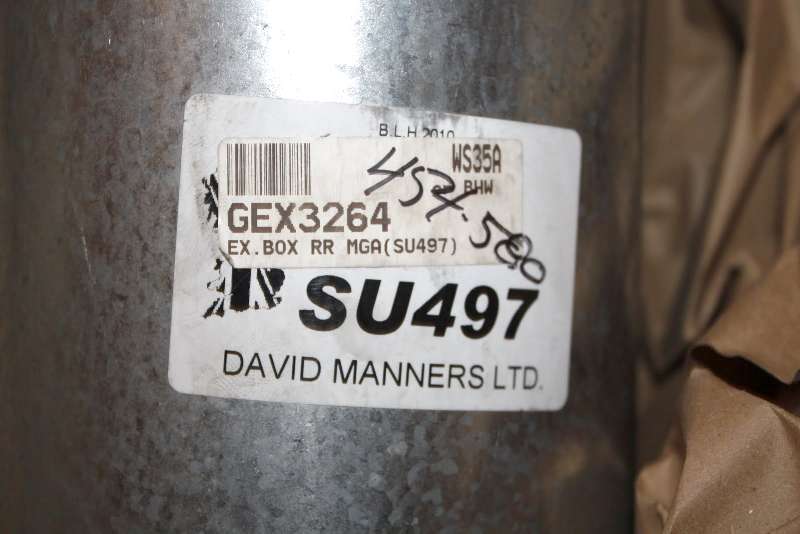
The label on the new muffler,
showing the original UK supplier (David Manners).
|
This muffler appears to be slightly bigger (maybe a half inch extra diameter for instance) than the original as described in
'Engineering Technical Data, MGA Twin Cam'.
|
"LBCarCo (www.lbcarco.com) had the muffler in stock, $89.95 plus shipping. It's a little bigger than previously described, but it fits fine and isn't far off. As it turned out, the procedure required cutting with a grinder (Dremel), banging, and eventually shrinking the metal on the upstream pipe with a bag of ice. The whole gruesome story follows.
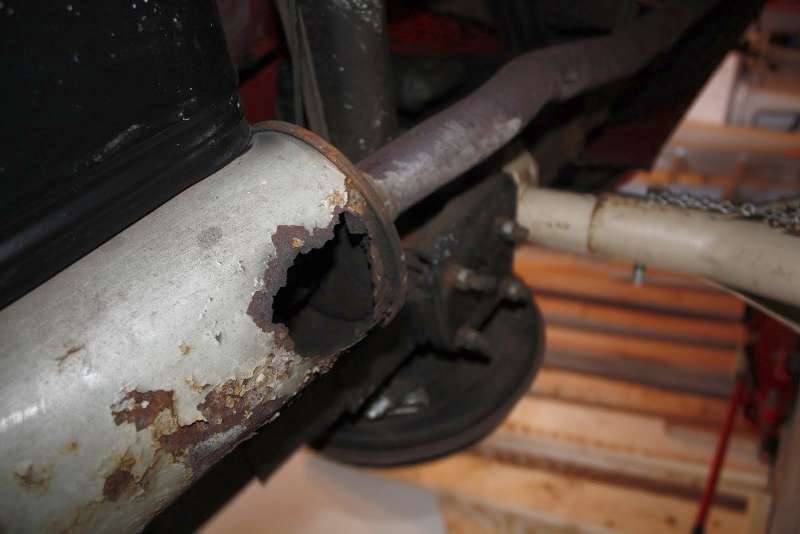
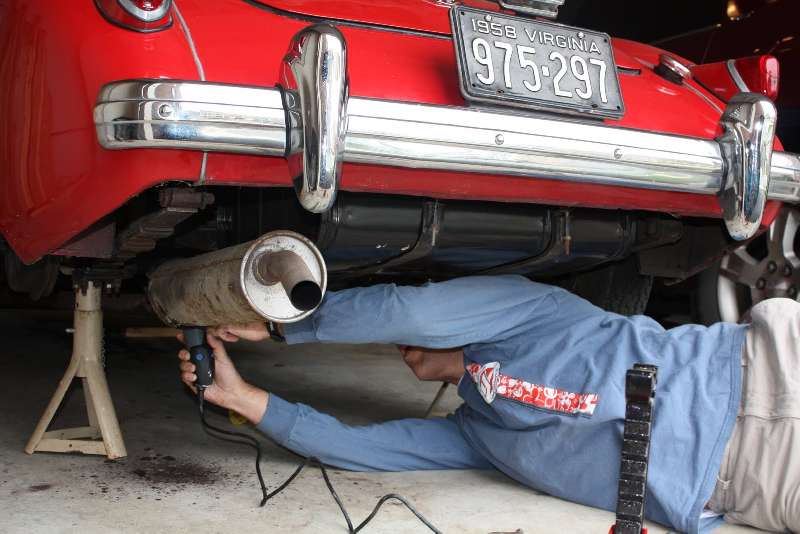
You don't have to be an expert to diagnose this muffler problem.
|
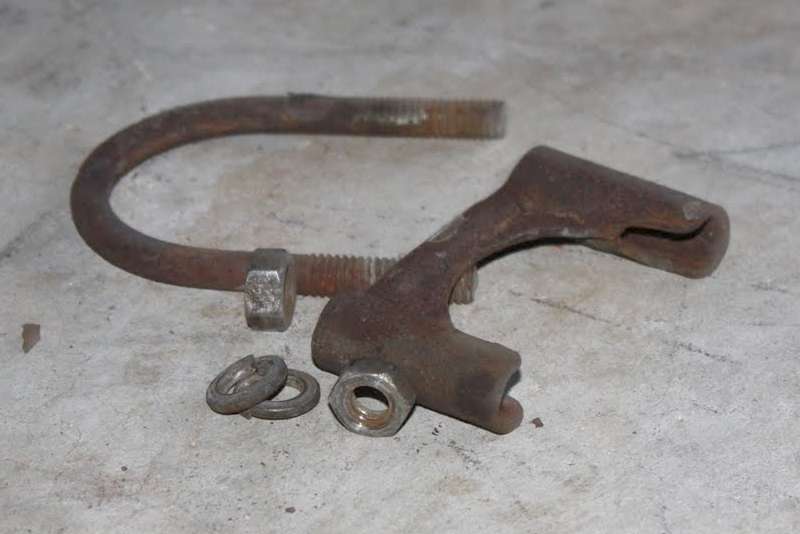
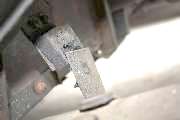
The innocent looking clamp, just removed. Those were happy, optimistic times.
|
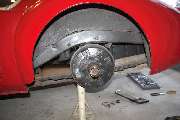
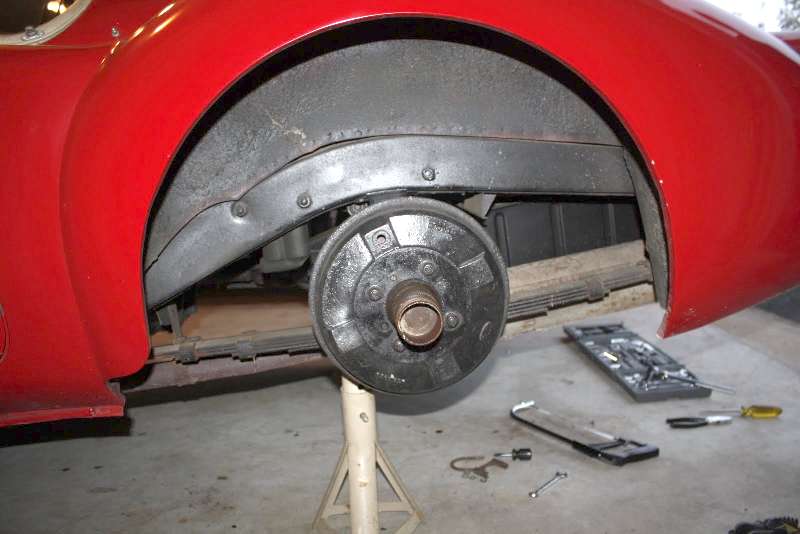
Taking the wheel off for better access is a must.
|
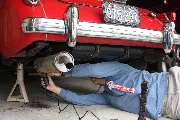
"On the MGA and many old cars, the muffler is clamped on with a single clamp. So I loosened the bolts, and in a foolish display of the kind of optimism that only comes from a complete lack of knowledge and experience pulled on the end of the muffler. No movement. The clamp by design snugs the muffler input pipe around the exhaust pipe coming from the engine. I head out with the one pound copper headed hammer used to loosen the wheels. After a lot of serious bangs I had succeeded in denting the muffler, but it had not budged.

The result of about a half hour of hack sawing and prying metal.
|
"Navigating a hack saw is tricky as there are things you don't want to accidentally cut, most importantly the brake line and emergency brake cable. Also, laying on your side it is difficult to accurately cut only through the outer pipe (muffler input) without slicing the inner pipe (exhaust from engine). I do the best I can hack sawing and prying metal apart with a screw driver and come up with what I think is a pretty good opening in the outer pipe, pictured below. The joke is on me. After repeating similar procedures as best as possible on the top of the pipe I determine I'm going to need to get more drastic. Are there tricks for getting a stubborn one off without ruining anything? In the end I suspect this will all make me feel better about $300 bucks (and the extra time and effort) to put in stainless next time. Maybe they'll have figured out how to keep the glass pack in by then.
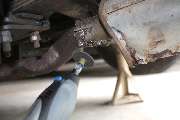
Grinding the back side of the pipe trying to keep the sparks out of my face. You can see the old muffler was installed in the "wrong" position, tail pipe pointing down.
|
"For a few dollars I'm able to pick up some metal "cut off" wheels for my Dremel. Sparks fly (remember, this is right next to the gas tank) as I slice as long a groove as I can into the top, bottom, left and right of the pipe without cutting into the face of the muffler. After more screwdriver abuse I'm starting to get the "banana peel" look I was going for. More banging with the heavy hammer produces a rusty cloud of dust and a seriously deformed muffler, but not one tiny budge. Going farther, I slice into face of the muffler and through the thick weld holding the pipe to the end of the muffler on top and bottom and pound away again. This has to do the trick. Nothing.
Slicing with the Dremel.
Notice the seriously dented muffler now.
|
"I consider cutting all around the face of the muffler to free the pipe, but it's going to be too hard to navigate the Dremel. I consider removing the entire exhaust pipe up from the engine back, probably 6 more bolts (if I can reach the exhaust manifold). In the end, I decide to try an elegant solution I'd had in mind from the beginning. I filled up a one gallon Ziplock back with ice and water and drape it over the "upstream" part of the pipe, and go inside to watch TV for a half hour. I came back out and banged with the big heavy hammer three times. Off flew the muffler to the ground. I just stared at my vanquished foe, half in disbelief. Wish I'd tried that about two hours earlier.
|
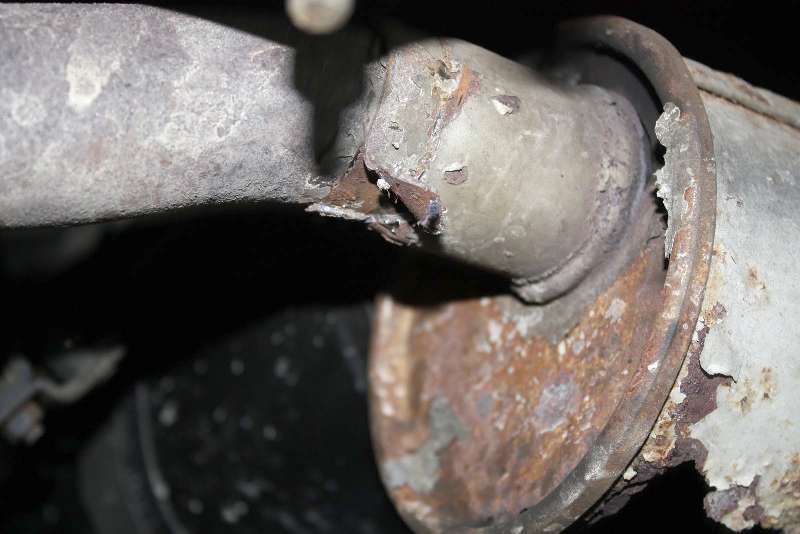
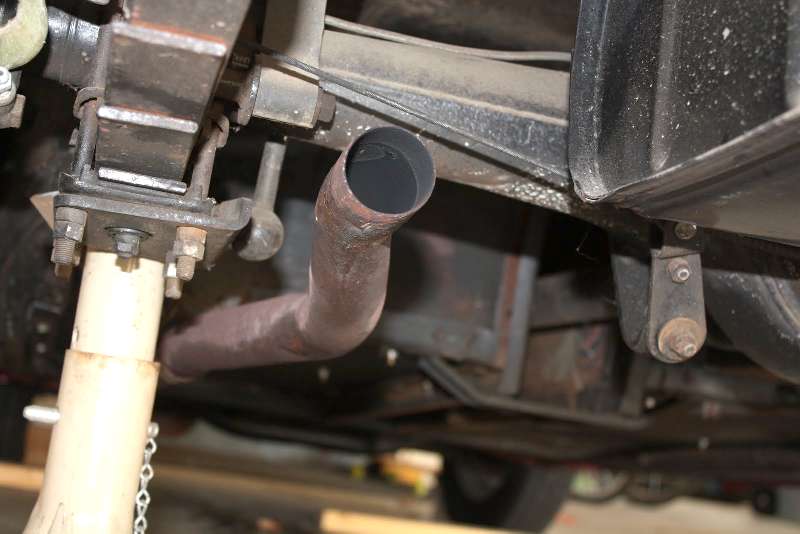
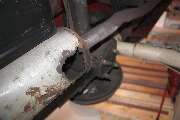
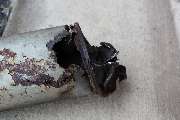
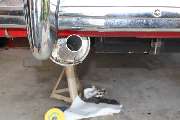
The naked end of the exhaust pipe after the muffler came off. If you click to see the bigger version you can see some collateral damage on the underside and coming through from the top of the pipe. Since those will be covered by the end of the muffler, I'm not too concerned. Given the procedure I'm glad and a little surprised it's not worse.
|
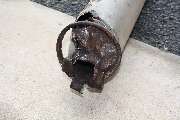
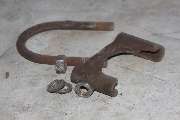
The lifeless carcass of my enemy showing the banana peel effect on the pipe. I think you can see the marks from the hammer.
|
|
Here you can see where I sliced through the weld, which was easier as the muffler became more distorted.
|
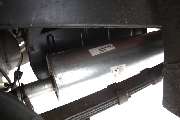
"From here it was anticlimactic. The new muffler slid on easily and clamped in place. Probably another 15 minutes including reattaching the bracket at the back. I took it out for a test drive and was shocked at how much quieter it was. Since the car had slowly gotten louder over the last month (and probably started with some holes) I hadn't realized how loud it had gotten until the new muffler was in place. I think I've decided that next time I'm going to buy the stainless steel system and replace from the engine on back to avoid the need to do this again. It's expensive (about $400) but it's guaranteed for life against rust".
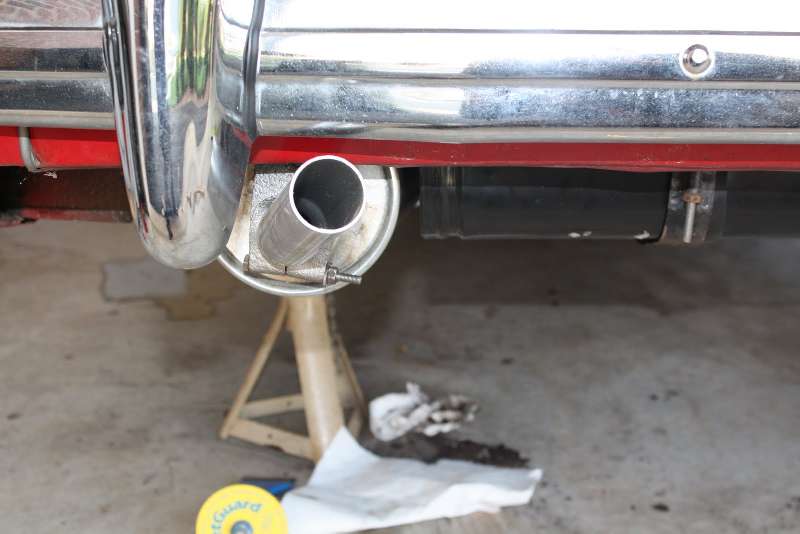
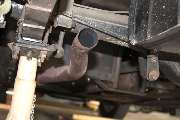
The new muffler mounted with the tail pipe at about the 2 o'clock position as it seems it should be according to the MGAGuru.
|
|
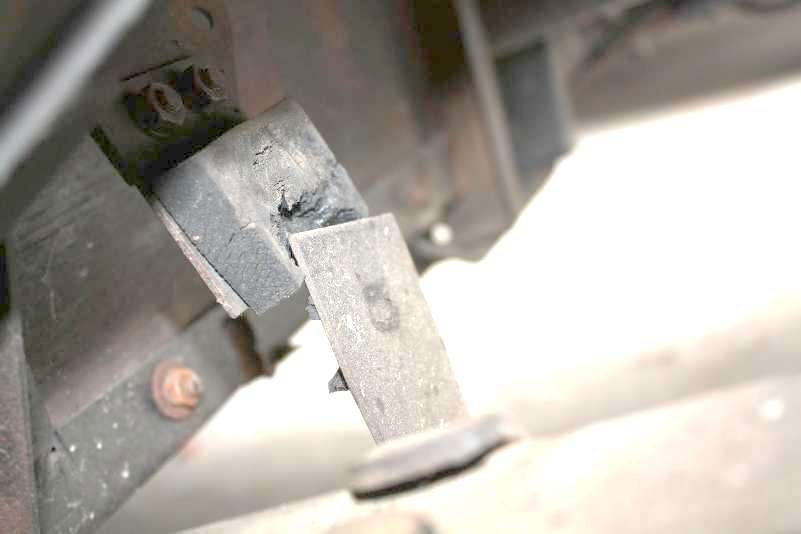
All the banging broke the rubber pad on the hanger just upstream from the muffler. I'll add one to my next parts order and replace later. They're cheap - about $5.
|
|
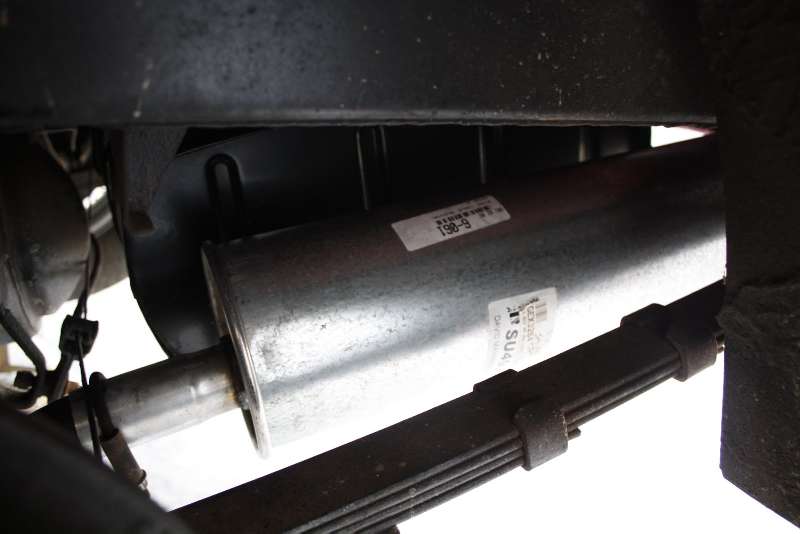
The new muffler from the wheel well. The clamp bracket at the left is back in place. It looks like the hand brake cable now touches or nearly touches the exhaust. That may be because the upstream hanger is broken although it seems like that will make it worse. Hopefully the heat on that cable will not be a problem. So far I can't discern any problem with it dragging.
Petula Clarke would like to show you.
|
|