The MGA With An Attitude
HEATER CONTROL - Attachment to Dash - HR-104
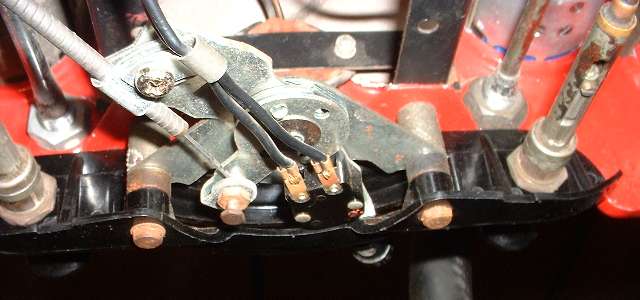
Heater control attachment to bottom edge of dash
The MGA heater control installation may be a bit confusing, as not all parts required will be shown on any one page of the shop manual or the parts list. This stems from the heater being treated as an add-on option. The dash installation with lower edge brackets is part of the basic car. The heater control panel with the additional fasteners required will be shown with the optional accessory heater parts.
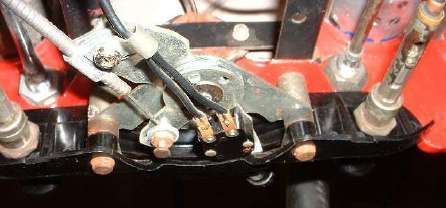
To make the story short, reference the picture above. The dash lower brace brackets with captive nuts are positioned on top of the lower flange of the dash. For the basic installation (not shown) there are short screws with flat washers, lockwashers and screw heads on the bottom. When the heater control parts are installed there are long tube spacers immediately under the dash flange. This is followed by the heat control bracket and lever assembly, short tube spacers below that, then the molded phenolic facia panel, and finally lockwashers and long screws with the heads on the bottom.
In the original factory installation there was also a thin rectangular fiber washer between the long spacer and dash flange. This was used to hold the fasteners assembly together before and during installation. Functionally it may be omitted, but it may be worth a point in concours show. Without the fiber washers the panel may fit a bit too high and interfere with the dash panel.
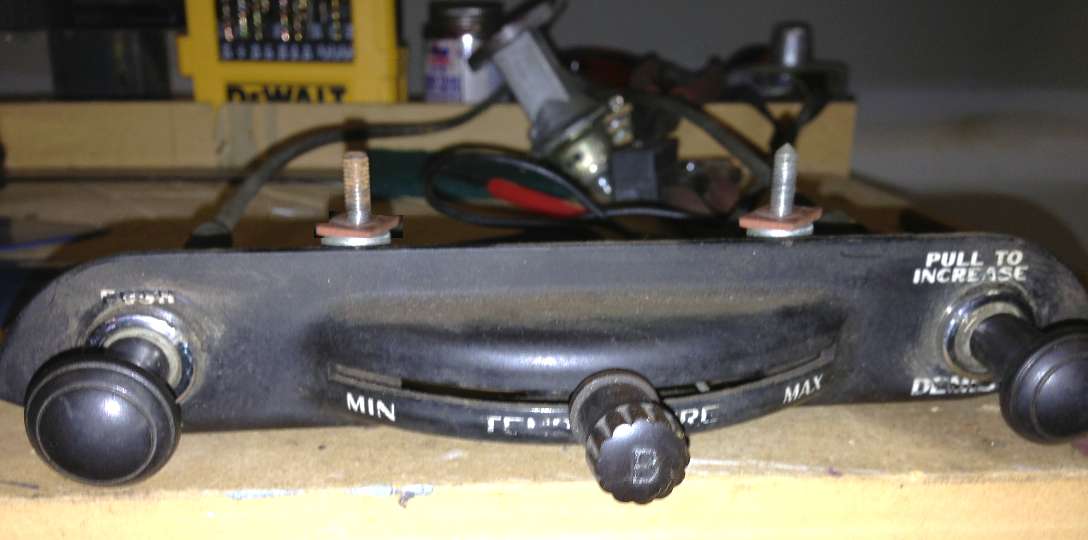
Moving the heat control lever to the left draws the control cable out to close the water valve (heat off). Moving the lever right pushes the control cable wire in to open the water valve (heat on). If you mount this manual control assembly upside down it works backward, giving heat when you expect cool or cool when you want heat.
Addendum, December 2012:
Fasteners for no heater:
(2) PPZ0308 - Screw, Pointed Phillips Zinc #10-32-UNF x 1/2
(2) LWZ203 - Lockwasher Zinc #10 medium helical spring lockwasher
(2) PWZ203 - Plain Washer Zinc #10 flat washer
Fasteners for heater control installed (originally included with control assembly):
(2) 27H1208 - Bolt. #10-32-UNF x 2 Hex Head Pointed (with 3/4-in long thread)
(2) LWZ203 - Lockwasher. Zinc #10 medium helical spring lockwasher
(2) 24B632 - Tube Spacer, Wide #10, 0.203-ID, 0.500-OD, 0.668-Long
(2) 24B633 - Tube Spacer, Wide #10, 0.203-ID, 0.500-OD, 0.272-Long
(2)  Rectangular Fiber Washer, #8 (for tight fit on #10 screw) Rectangular Fiber Washer, #8 (for tight fit on #10 screw)
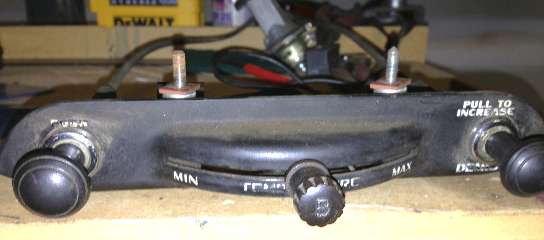
The illustration above came from the Workshop Manual and the Service Parts List. It is drawn wrong. The fixed frame has three legs as shown, but the moving arm and switch are on the bottom. Photo at top of page shows correct orientation.
Addendum, January 2014:
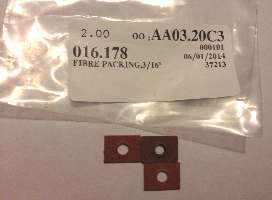
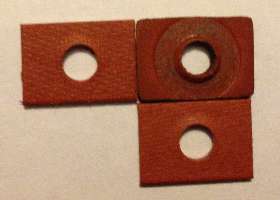

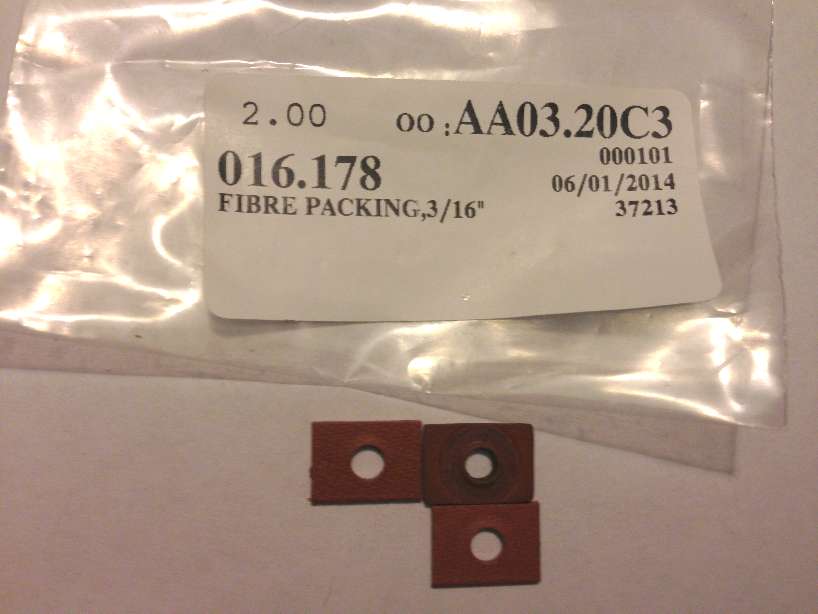
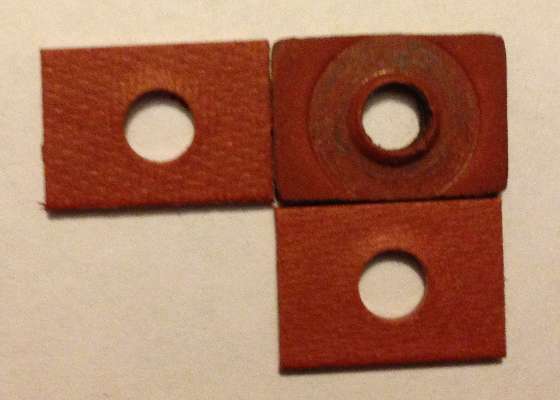
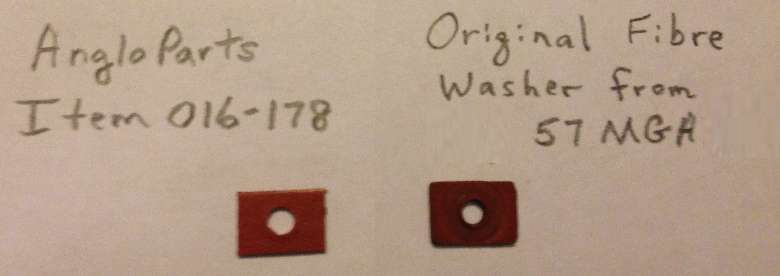
Here are photos of the red fiber washers. There is a package from Anglo Parts with two new washers, and one factory original washer. Notice the holes in the new washers are larger, like being #10 flat washers with clearance holes for the #10 screws. But the original parts have smaller holes, like being #8 flat washers to have a snug fit on the #10 screws. The original intent is to hold the assembly together during installation, which the #10 washers will not do. The new parts are not correct and will not perform their original intended function, but once installed the appearance is the same, and it may gain a point in concours show competition.
Addendum, January 2014:
I am told that Todd Clarke of Clarke Spares and Restorations has these fiber washers. Most likely other common vendors of British car parts will also have them, just not listed under a specific BMC part number. Be sure to ask for #8 fiber washers, not #10.
|