The MGA With An Attitude
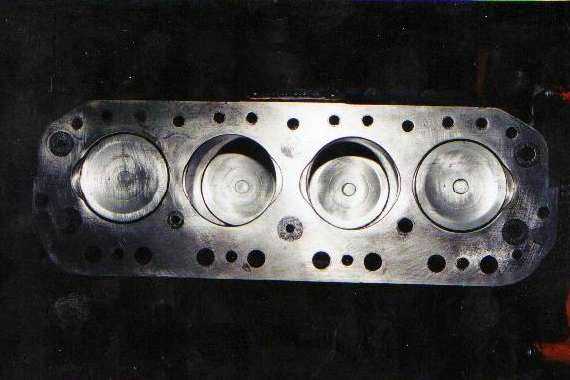
Page 1 of 4 CM-202 welcomes you to the world of valve interference and how to fix that problem by adding eyebrows to the top of the engine block.
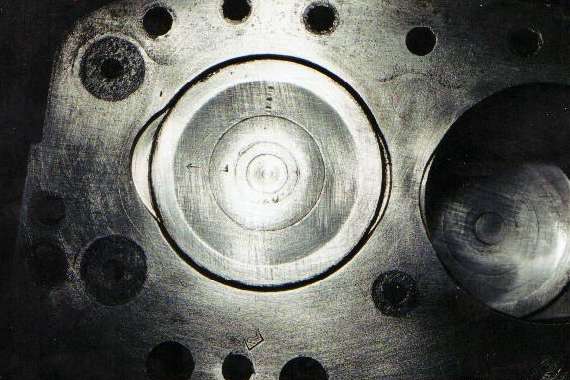
The next picture below is a close up of #1 cylinder with the new eyebrows already cut. By the way, the 3M brand buffing wheel intended for removing paint and gasket material from steel surfaces without damaging the metal also does an excellent job of removing carbon from the piston top. Just don't push too hard when using it, as it can also remove some of the aluminum from the piston, as witnessed by the very light scratches shown here.
Next below we have a picture of the same cylinder viewed from just above the horizon, and with the #1 piston at TDC. As this block has never been decked, it is at its original height, about 1/32 inch above the top of the piston. The top piston ring is located 7/32 inch down from the piston top. This makes the top ring stop a full 1/4 inch below the top of the block, leaving plenty of room up there for cutting the depth of the valve relief. In this case I was only going for 1/10 inch of depth for the relief, because that's all I needed for plenty of clearance.
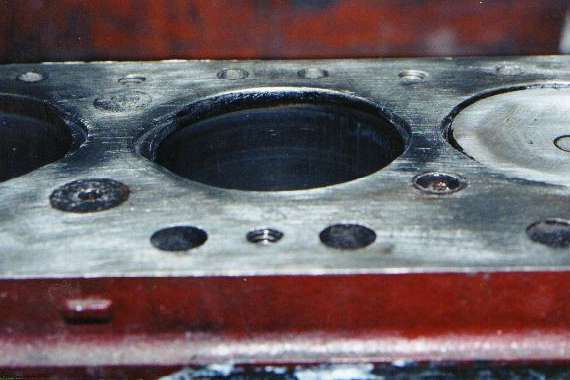
Here below is a view of the #3 cylinder with the piston lowered out of sight. This gives a good view of the depth of relief of the new eyebrow cuts. Also notice that all the sharp edges have been removed from the top of the bore and from the new relief cuts. This is to prevent the occurrence of hot spots in the combustion chamber that could lead to spark knock or pre-ignition with the engine running, or nasty run-on after you switch off the ignition.
Now to see how these relief cuts were made in the home shop without a milling machine, just proceed on to the next page. |