The MGA With An Attitude
REBUILDING LEVER SHOCK ABSORBERS - FS-207
On January 19, 2009, Michael Podshadley in California wrote:
"I am restoring a 1959 MGA and am wondering how and if I need to rebuild the Dampers/shock absorbers, or if I just have to refill them and how. One of them is very loose and one is very stiff".
Clean it, put oil in it (top fill plug), clamp it down, and move the arm to see if it works with firm force through full stroke and no backlash. If so, then let it set for a week to see if oil leaks out from the shaft seals. If no leaks, then paint it and put it on the car to see how long it will last in service. If it has any failures in action or leakage, then have it rebuilt. There is no easy way to stop a leaky shock from leaking.
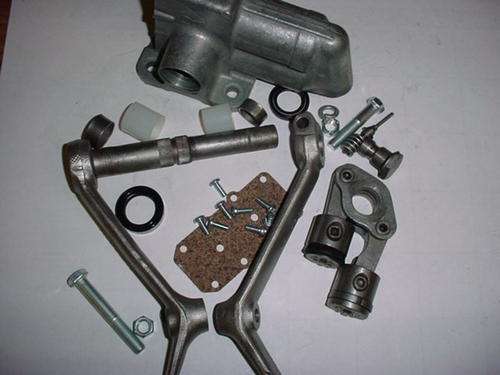
Rebuilding a lever shock is NOT a do-it-yourself home job, as it requires a large press for disassembly and reassembly, and some internal parts may need machining. Peter Caldwell of Worldwide Auto Parts in Madison, Wisconsin, explains it this way:
How World Wide Approaches Rebuilding Lever Shocks
First. What fails in a lever shock? Almost all of the (non-traumatic) failures result from lack of oil in the shock. The manuals always recommend Checking or topping-up your shocks in various intervals 3000 miles or so. Why? Because they leak!.. what a surprise! They dont leak just because they are British, they leak by design (now theres a bumper sticker). Speaking here of the rear shocks... the shaft that protrudes from the body of the shock is rotating in the body without a bearing. To ensure sufficient lubrication there is often a channel or groove in the shaft bore. At the outside there is a rubber packing retained by a thin metal washer. A packing needs some lubrication to work at all and the weeping of oil acts as a deterrent to dirt getting in. Dirt getting in will score the shaft at the seal area hastening the demise of the packing and wearing the bearing surface in the body.
The solution that all of us rebuilders use is to machine the body and install a bearing. We use Delrin, others use bronze. Bronze requires oil, Delrin doesnt. We also machine the body for a rotary oil seal (others dont) (in fact we use a double lip seal with dust excluder). One guy does use a rotary single lip seal and the others use several rubber washers held in place with a steel washer or two. To solve the pitted and scored shaft problem, others sand or grind the shaft down (you dont need to be precise with rubber washers) We have manufactured for us, to our specs, stainless steel sleeves that allows us to have a 3 micron finish and consistent diameter and concentricity of the shaft. After many years, we have found this to be very reliable. Our shocks dont leak.
The process... step by step. Receive grimy old shock, tumble clean in a deburing/tumble cleaner. Glass bead blast entire shock. Disassemble. Tumble and hot wash internals. Bead blast the rest of the arm. Machine for the bearing and for the seal. Wash again. Press in bearing and seal. Press on sleeve. Inspect and repair/replace as necessary the pistons and the valving. Reassemble components using all new hardware of proper thread and style. Fill with oil and bleed. Compare valving with NOS shock, adjust if necessary. Wash AGAIN. Paint 2 coats primer and 3 coats high heat black enamel. Date code and ship.
There you have it.
Peter Caldwell president. 800 362-1025
Addendum Dec 2010:
For those bold enough to try replacing shaft seals,
You can try double lip mechanical seals from Federal Mogul, part numbers 254287 and 470954 (two different sizes). Remove the flat cover for access inside. Mark or fixture the internal parts for position reference to the external arms. Remove the bolted arm, then use a press to push out the shaft. Pry out the dust protection cup and seal from each side of the housing. The metal cup may be damaged during removal. The original seal looks like a garden hose washer, just a rubber ring.
The new seals may be pressed into place. The dust cups might be omitted if they are damaged beyond use. Reassembly is the reverse of disassembly, getting the parts aligned as original and pressing the shaft back into position.
All said and done, you might get lucky and succeed. Otherwise there is no guarantee that it won't leak afterward. The biggest problem would be corrosion on the shaft that may destroy a new seal in short order. There might be excessive wear on the shaft or in the housing bore used as the bearing journal. There may be fixes for all such problems, but the more problems exist the tougher it is to have good results. If I had a press handy I might disassemble one for inspection, and maybe try replacing seals if there was nothing else obviously wrong with it. If it needs anything more I would send it off to Peter to have it done right.
|