The MGA With An Attitude
The rear seal installation is in 5 steps spanning 5 web pages. |
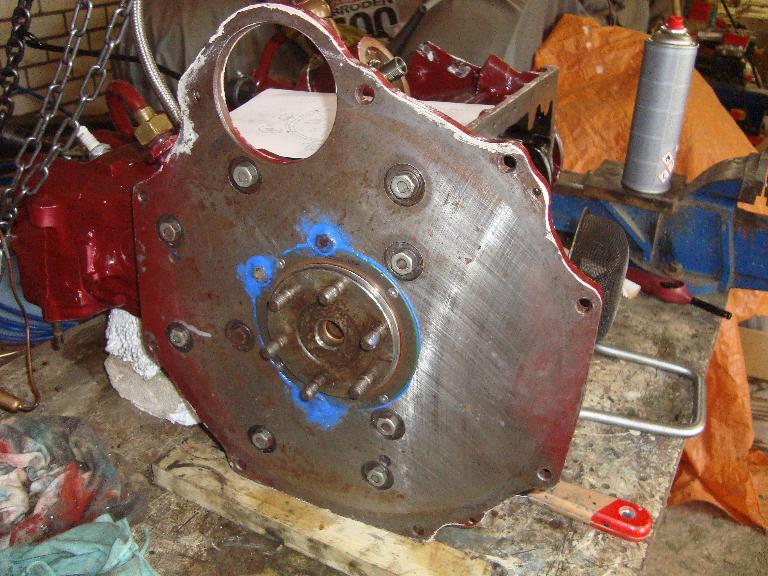
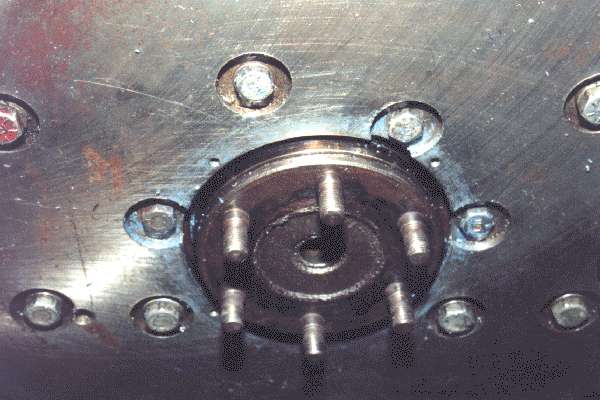 Slip ring, crankshaft and rear plate assembled with engine block. Notice, no lockwashers on the three bolts closest to the crankshaft. Secure these with thread lock adhesive. 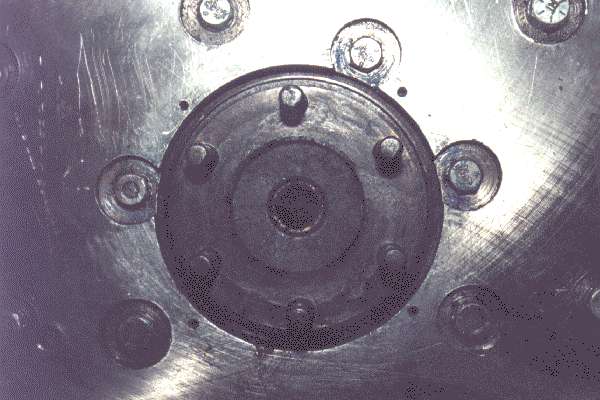 Straight on view of installed ring and rear plate. 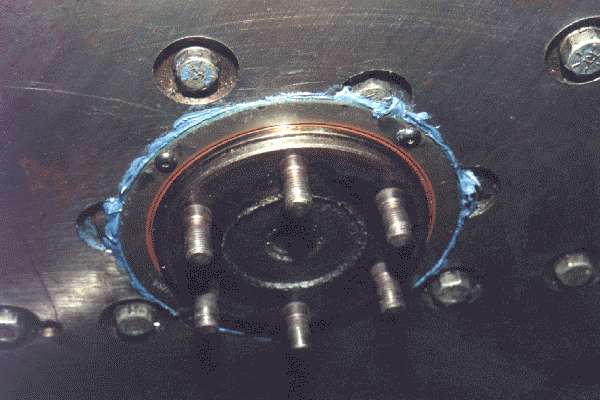 Finished seal installed and caulked and secured with the button head screws. |
Here you use silicone rubber sealant to caulk the new seal in place. Start by filling the space between those three bolt heads and the counterbores with sealant, and then put a small bead of sealant around the edge of the large bore and across the tops of those three bolt heads. Go easy with the sealant here, don't just gob it on everything. The trick here is to NOT get sealant inside of the large bore where it would interfere with the flexibility of the new lip seal. I put the sealant around the periphery first, then go into the large bore with a small screwdriver or the back edge of a knife blade to clean out any sealant that might be overlapping into that large bore area. Be careful not to get any sealant on the polished slip ring. If you do get sealant where it doesn't belong, a little solvent on a small cotton swab may help clean it up. |
Addendum October 2010: |


Put a little oil on the edge of the rubber lip seal before pushing it into place. Don't just shove it on with force if it doesn't go easily. It helps to orbit the seal slightly to get the rubber lip to lift onto the metal ring, as the ring will not have much of a chamfer to lead it into place. When you install the small screws be sure to put a drop of thread lock adhesive on the threads so they won't vibrate loose in operation. Then snug down the screws, be sure the seal flange lies fairly flat on the rear plate, and you can wipe off any excess sealant after it's all tightened up. Do not use lockwashers with the button head screws, as there is not enough space between the rear plate and the flywheel.
Click here for more photos and notes for another installation in June 2017.  |